


How to Clean Your Car Like a Pro: A Beginner’s Guide
cleaning | diy | Meguiar's | Product Reviews | Tips
Having a 4 year-old in the backseat every week is the automotive equivalent of shaving your face with a cheese grater. You’re getting somewhere, but chances are things won’t be very pretty when it’s time to step back and assess the damage. From crushed Oreo cookies in the carpet and soured yogurt in the upholstery, to SPF 100-billion on the leather seats and the faint stench of stale urine, your car is crying for help.
Hell, it’s not like your car’s exterior is looking any better either, because every chance you get the chance to wash it, someone has a tea party and you have to make sure all their stuffed animals are playing nicely with one another. It’s high time to grind and shine people. No one said parenting would be easy, but they didn’t say ignore your mode of transportation either.
So with a little help from our friends over at Meguiar’s, and a Saturday free from any obligations, I recently set to cleaning out my trusty old beater, a 2004 Acura TSX with over 210,000 miles. What followed may not have been the most thorough or intense scrubbing process, but it at least gave me the ability to test out some products and make my next post far more focused on finishing details and deep cleaning.
Step 1: Get Your $#*! Together
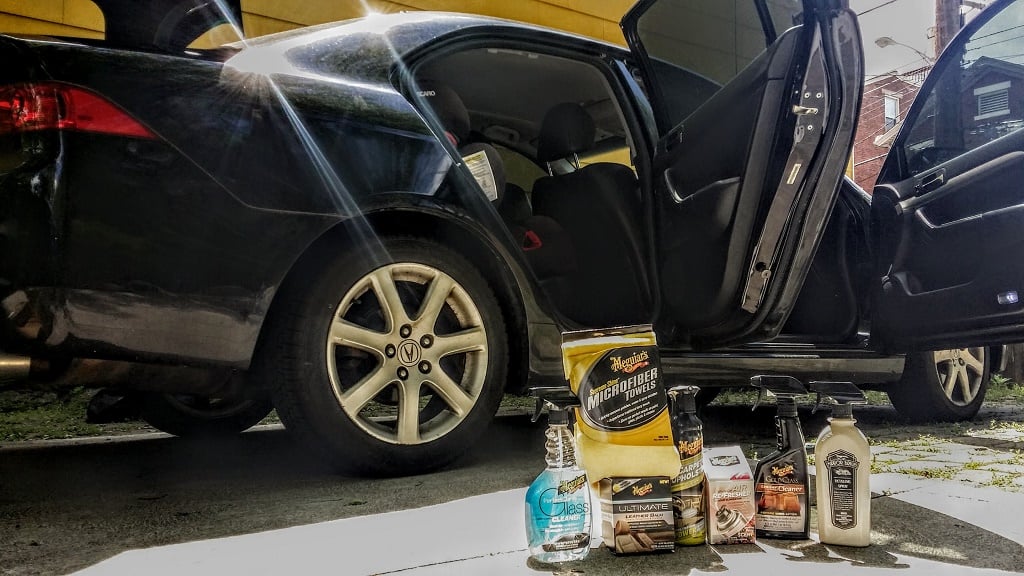
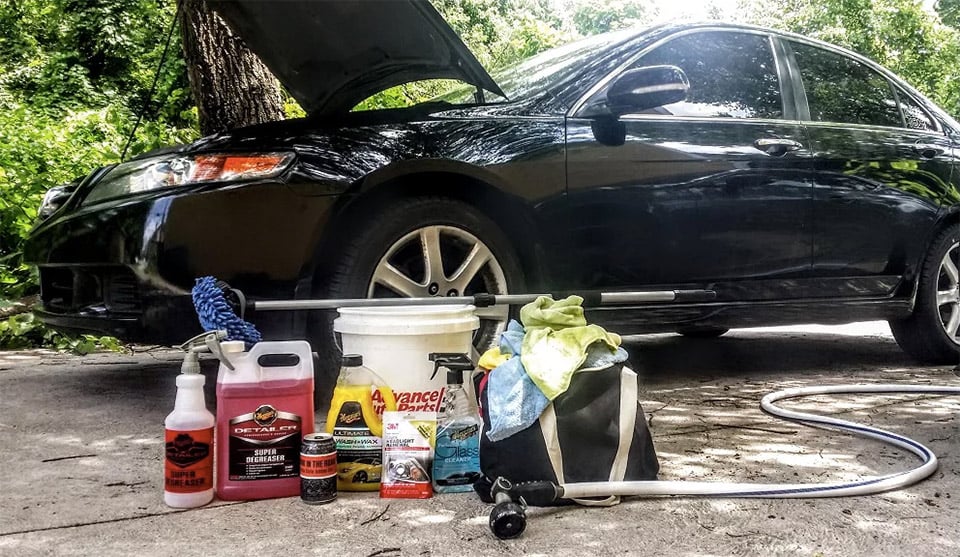
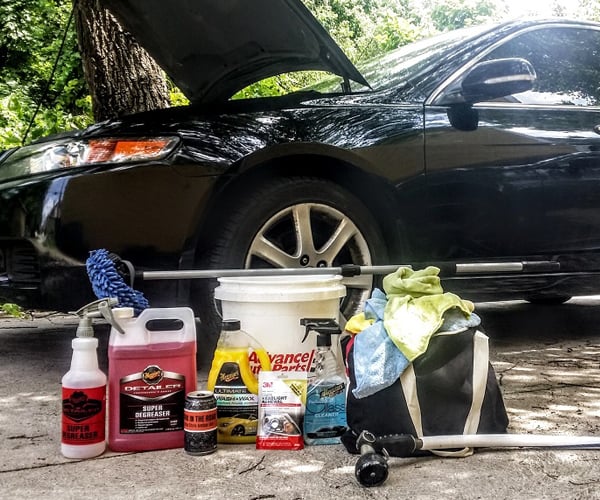
If you’re going to tackle a proper car cleaning, you are going to need the right tools for the job. For the interior, Meguiar’s sent over a can of carpet/upholstery cleaner, as well as their leather/vinyl cleaner, glass cleaner, detailing spray, and a ton of microfiber towels. As for the leather balm and odor neutralizing spray they provided, these products ended up not being needed at the time, so expect a full review of them both in the next installment.
Other key ingredients include a vacuum with a hose extension for sucking up Cheerio crumbs, a shaded or garaged work area, tunes for passing the time, and an ice cold beer because it’s Saturday and why the hell not. It might also be a good idea to have a certified lead-free garden hose with a spray nozzle attachment for when it comes time to rinse, lather, and repeat.
Step 2: Strip, Spray, Scrub, and Suck
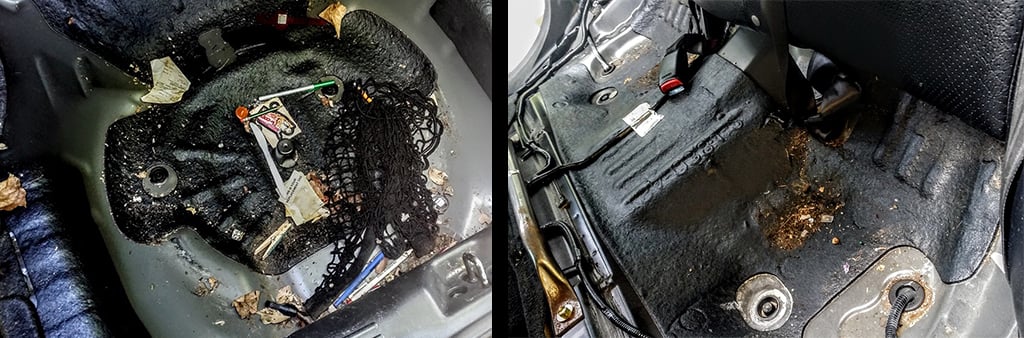
Remember that flick starring Harrison Ford and Michelle Pfeiffer entitled What Lies Beneath? Take the time to unbolt the rear bench and remove the spare tire in your trunk and you’ll likely find something far more frightening than that piece of crap production ever could offer. Vacuum out the filth, pocket whatever change you find, and spray that shit down with a deluge of cleaner. Since no one really sees this part of the car, don’t sweat polishing the floor pan, just wipe up any leftover grime or dust and let those odor eliminating chemicals kick in.
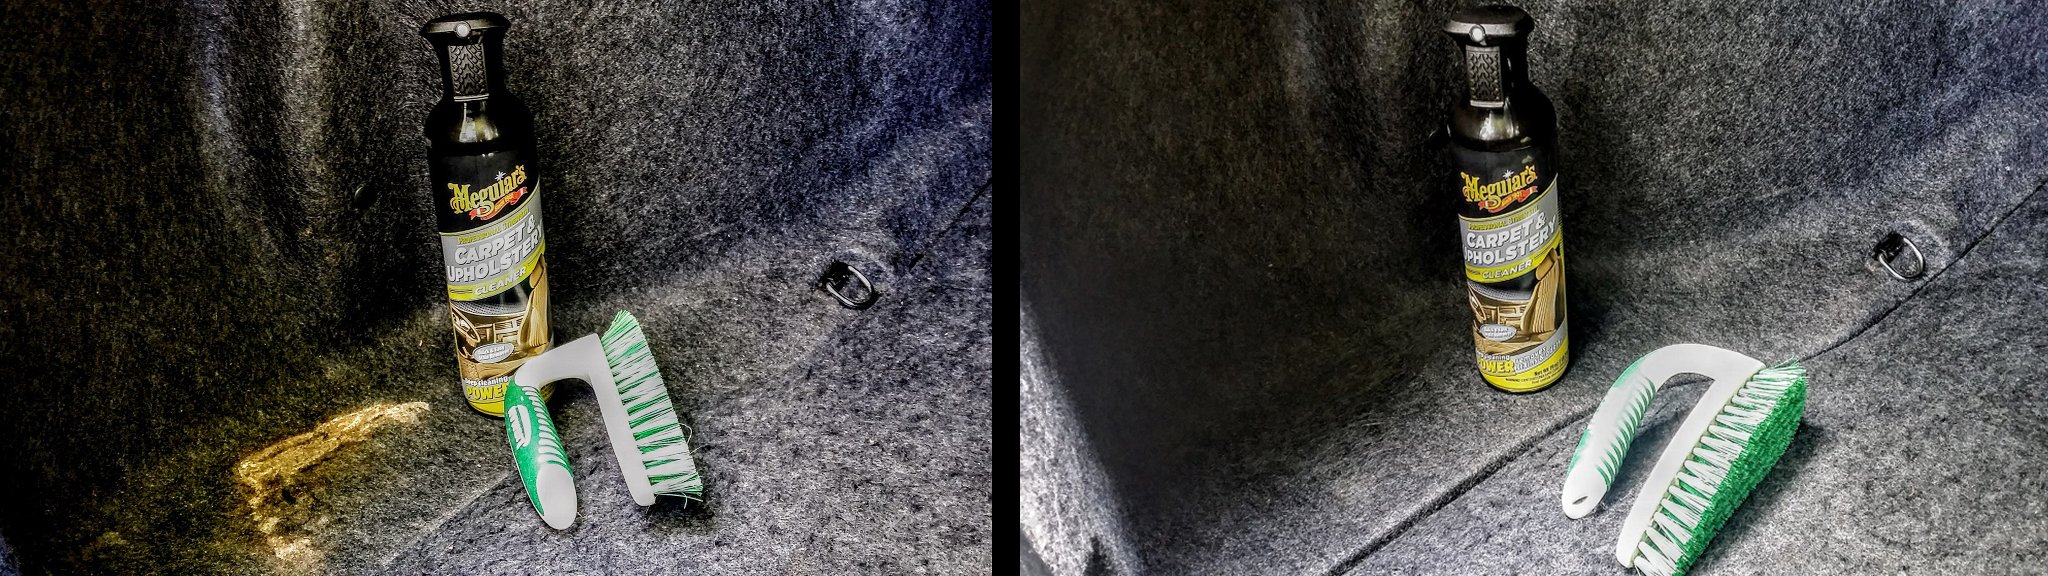
While your cleaner soaks in take the time to vacuum-out the rest of the car, and don’t forget to hit those door sills and trunk/rear hatch channels. For extra stubborn stains (like the previous owner’s melted chocolate bar outline pictured in the trunk), break out a can of foaming carpet cleaner and a rough hand brush. A few rounds in the ring with those two and your worst carpet stains are going to be crying for mercy.
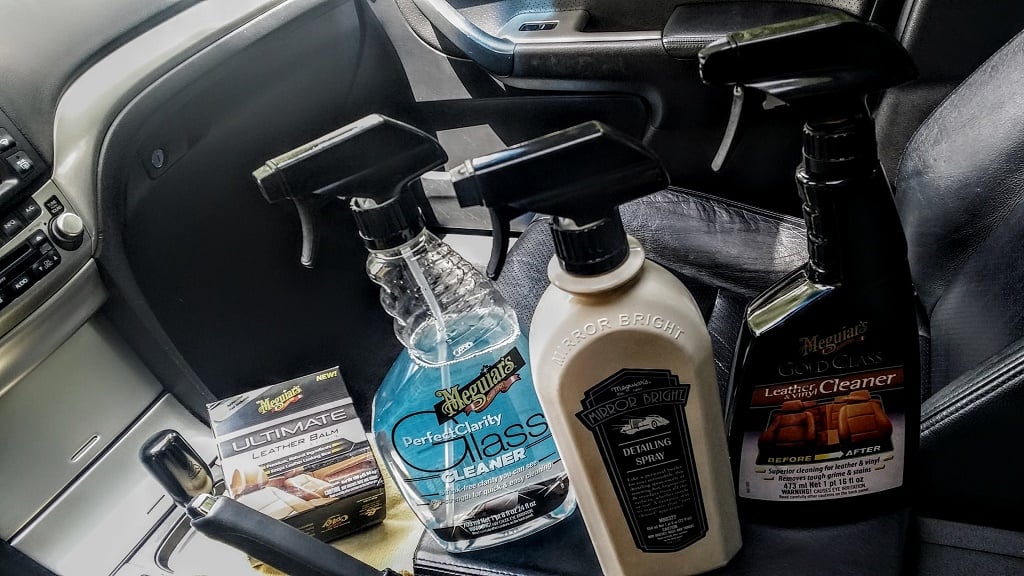
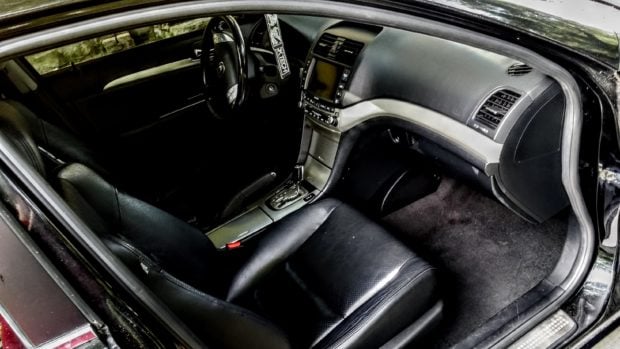
With the rear bench and spare tire back in the car, it’s time to move on to door inserts and seats, both of which I found responded far better to the leather/vinyl solution than to the detailing spray Meguiar’s sent us. With sunscreen stains and sticky box-juice runoff removed, the glass cleaner and a microfiber towel may now take over in order to knock out the transparent stuff before moving on to the car’s exterior.
Step 3: Make That Motor Look Marvelous
With a preliminary round of interior cleaning complete, it’s now time to focus on the outside and engine of your vehicle, the latter of which few people ever consider worthy of attention. Even if you aren’t planning on popping your hood at local car meets and still rock a stock block, getting rid of the road grime, carbon build-up, and all the other gunk that accumulates under there is never a bad idea.
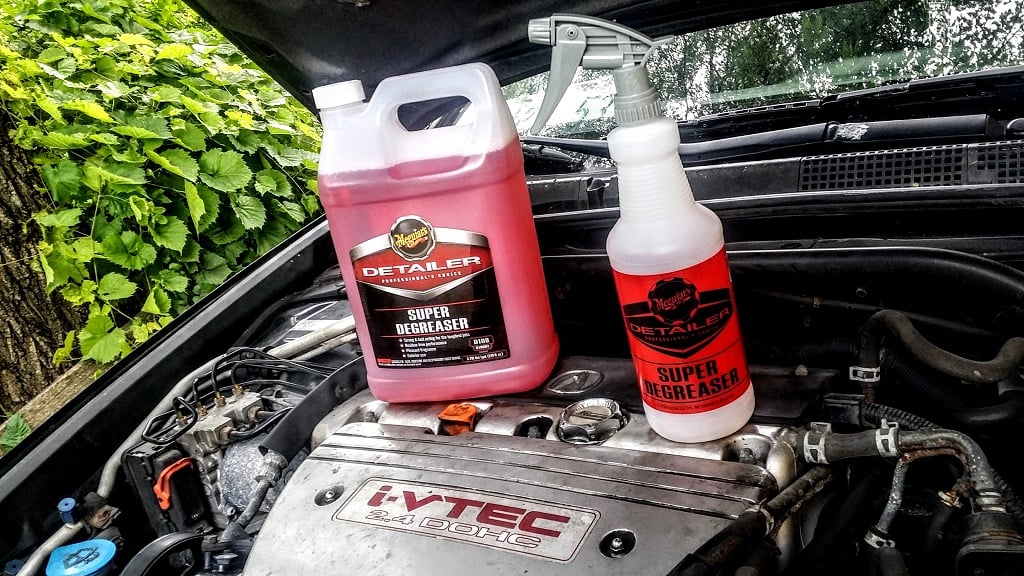
While the industrial-grade cleaner Meguiar’s sent us may not be readily available to the public, there are milder versions of this formula that will more than likely tackle most engine cleaning projects. In my case, I specifically asked for the stronger version due to the amount of build-up within my sedan’s engine bay, a task that this hardcore product took to with great gusto.
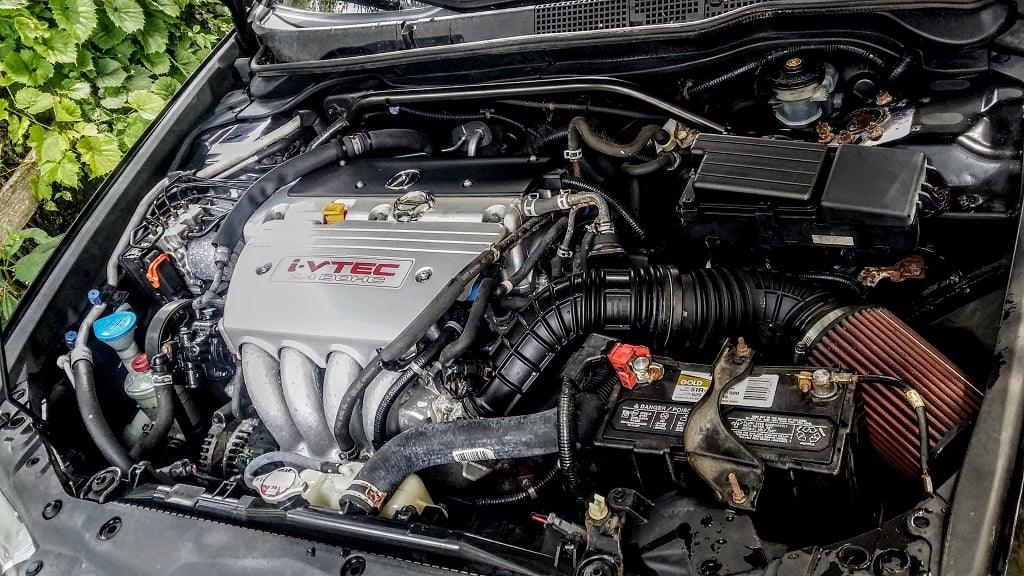
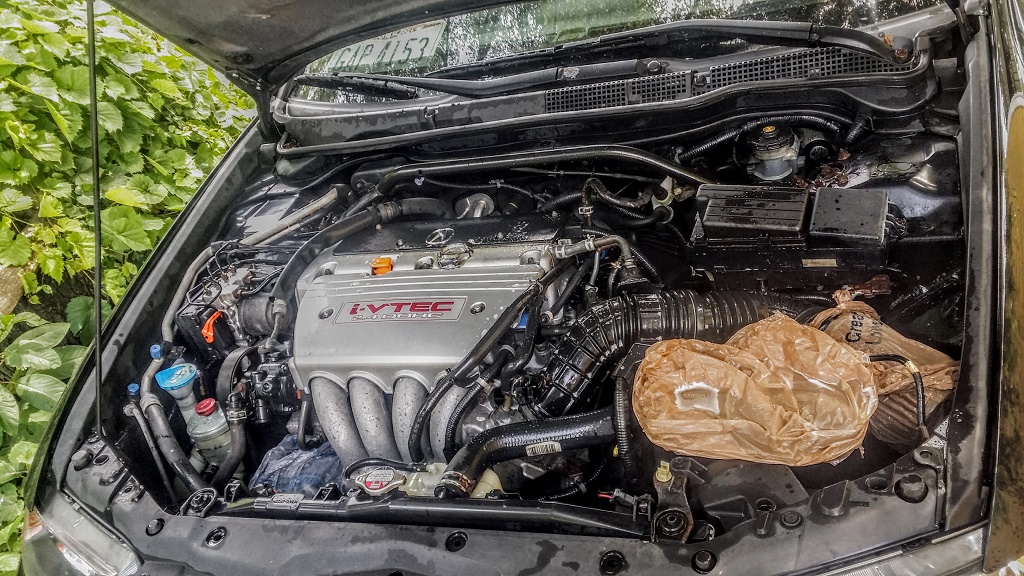
With the appropriate 1:4 parts concentrate to water solution ready and my air filter, alternator, and various other electronic components wrapped in protective plastic bags, I spritzed the bay down and waited. After about a minute of soak time I gently sprayed the engine bay with water from the hose and was thrilled by the amount of grime it removed! After two more rounds and some towel time the majority of the filth beneath the bonnet had been removed, so I tossed my plastic bags and focused on the vehicle’s exterior.
Step 4: Rinse, Lather, and Repeat
With the engine bay blasted it was time to give the brake dust encrusted wheels some attention with the same industrial degreaser, which looked much better after two sessions of scrubbing with a rough bristled brush. Just make sure you rinse them off well and don’t let those chemicals soak for too long because they will eat into your alloys.
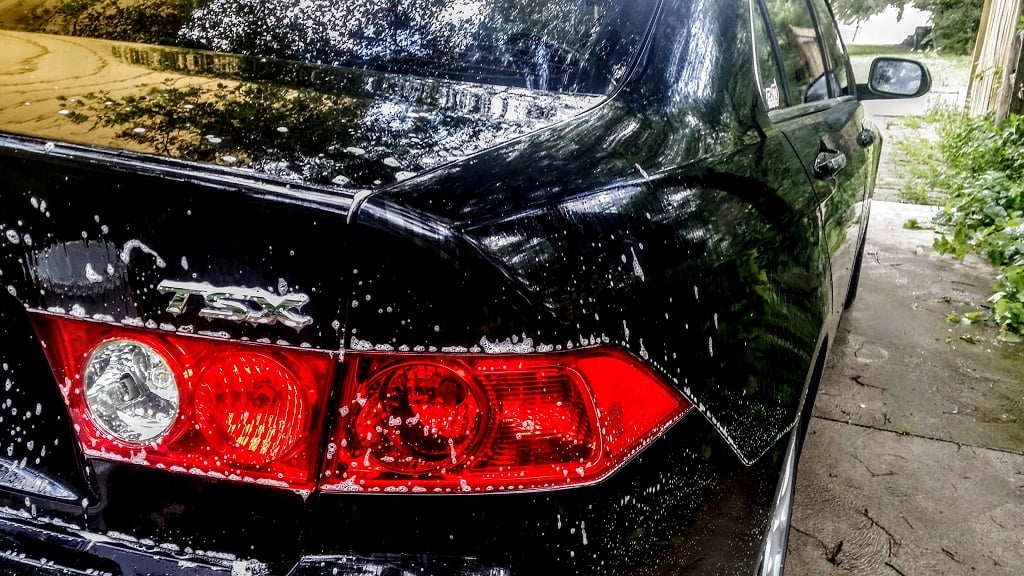
In regard to scrubbing the car itself, remember to buy a trio of buckets so you cut down on the amount of contaminants being spread on your car’s clearcoat. Two buckets of water, one for dirt removal and one for rinsing, followed by a tub of suds is a good rule of thumb, and avoid pressing too hard on the scrubber. You don’t want to mar your car’s hard shell.
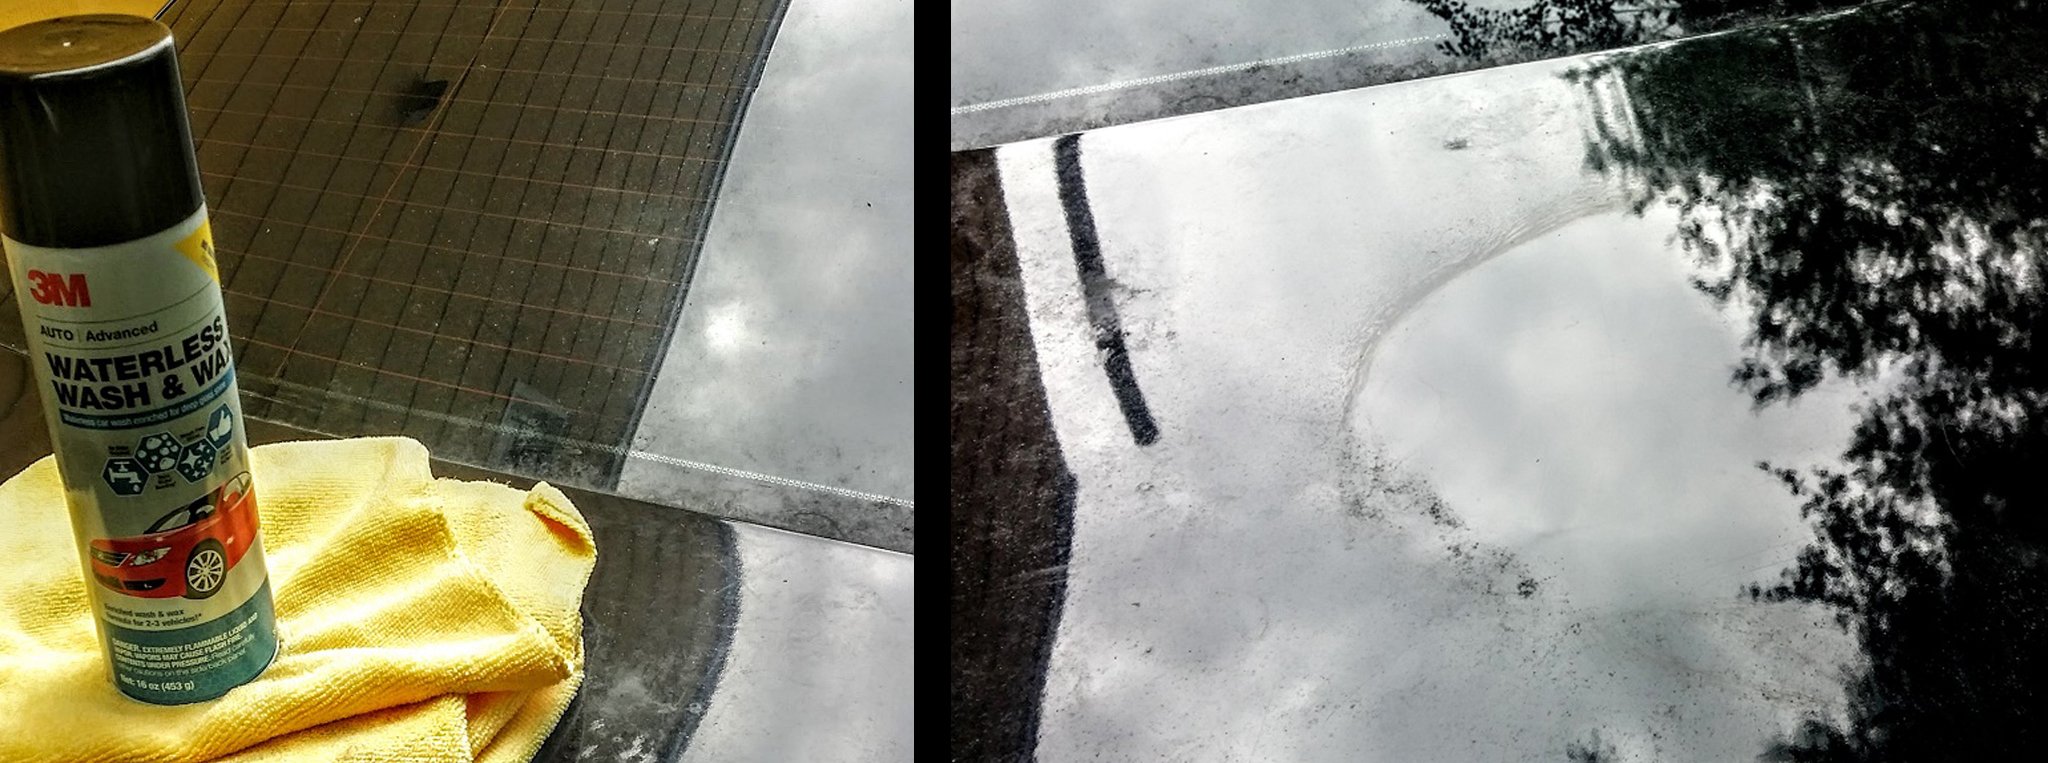
For those of you who are in a rush there are also waterless wash and wax sprays, which won’t clean as deeply, but will at least knock surface grime out of the equation. The attached picture should give you a pretty good idea of how well the Meguiar’s spray works, so if you’ve already done some deep cleaning this is a great quick fix for specific areas.
Step 5: Throw in the Damn Towel
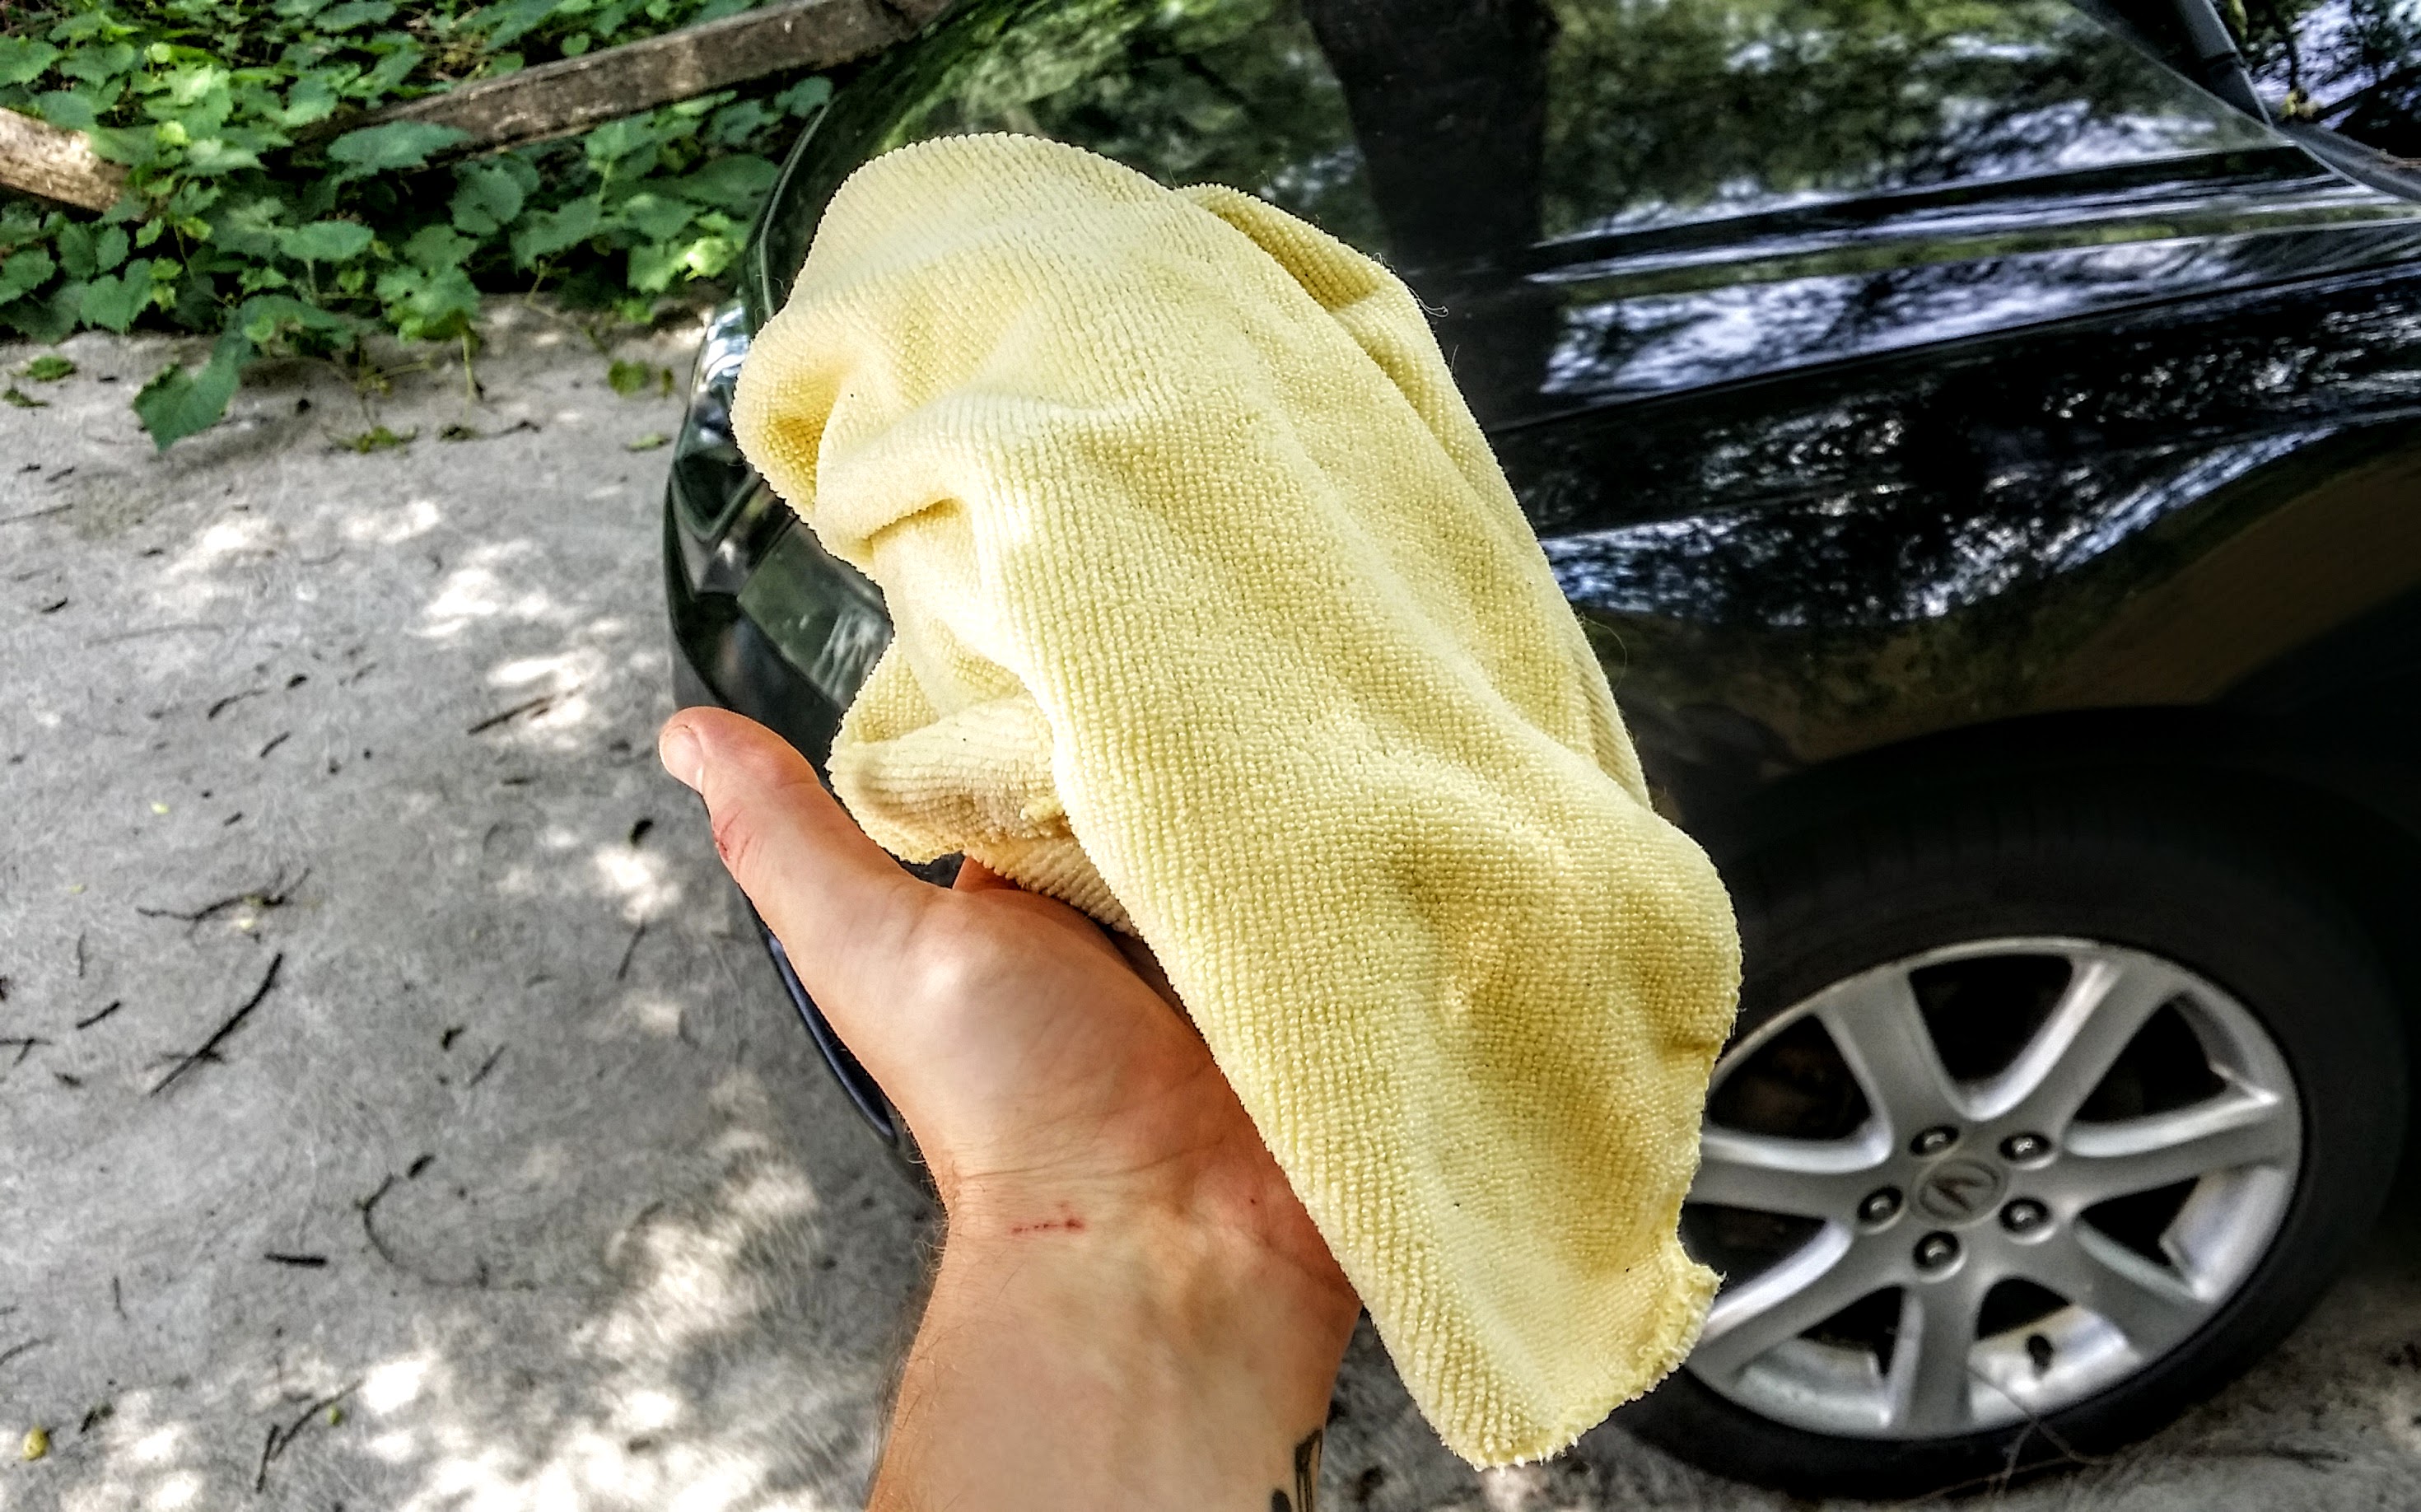
With the exterior properly exfoliated, it’s time to whip out some more microfiber towels and give your ride the old rub-down. We suggest avoiding things like chamois cloths. Unlike microfiber towels, which have specially designed strands that spirit leftover grime away from the surface, a leather chamois cloth traps these impurities along its surface and smears them across the vehicle, thus causing swirling and scratching.
Stick with microfiber towels, buy more than you think you’ll ever need (trust me, you’ll need them all), and soak up that water before it dries and leaves spots. Once dry you can get a better idea of where you will need to focus your attention the next time around, and don’t forget to send that microfiber through the wash! The last thing you want is a compromised towel marring up your fresh wax job the next day.
Step 6: Step Back, Assess, and Alter Accordingly

The final step is an incredibly simple one, but that does not make it any less crucial. By this point your car has experienced a thorough first-round of superficial cleaning, so to celebrate it’s time to crack open another cold one and assess the fruits of your labor. This step serves to both give you insight into what is still dirty and will require more attention next time around, and to give you a better idea of how well cleaning products work. I find that certain offerings from one manufacturer will work better than another and vice versa, so testing and personalizing your lineup guarantees both a cleaner car and shorter scrub times.
As for our Meguiar’s test products there were both highs and lows to be found, with the lows being more of annoyances than anything else. I found that their microfiber towels tend to shed a lot, so expect some annoying fuzz balls until you run them through the wash a few times. Other missteps were the detailing spray, which worked wonders on the outside but didn’t seem to do much for the interior, and its cloyingly sweet, artificial fruit daiquiri aroma was pretty overwhelming.
On the plus side, the leather and vinyl spray worked beautifully on every piece of interior it touched, the glass cleaner was streak-free and window tint-safe, and the carpet/upholstery foam kicked the crap out of every stain it touched. As for the can of waterless wash and wax, bright yellow Ultimate Wash & Wax concentrate, and industrial engine degreaser, they all did their jobs but required multiple coats. This was undoubtedly due to the level of filth that had built-up on the car’s surfaces, so I am curious to see how much crud they cut next time around.
Stay tuned, because we still need to test out some of Meguiar’s latest headlight restoration products, along with their leather balm and a cabin odor eliminator. You know, because sometimes 4 year-olds step in dog crap and don’t bother to say anything until you’re halfway home.